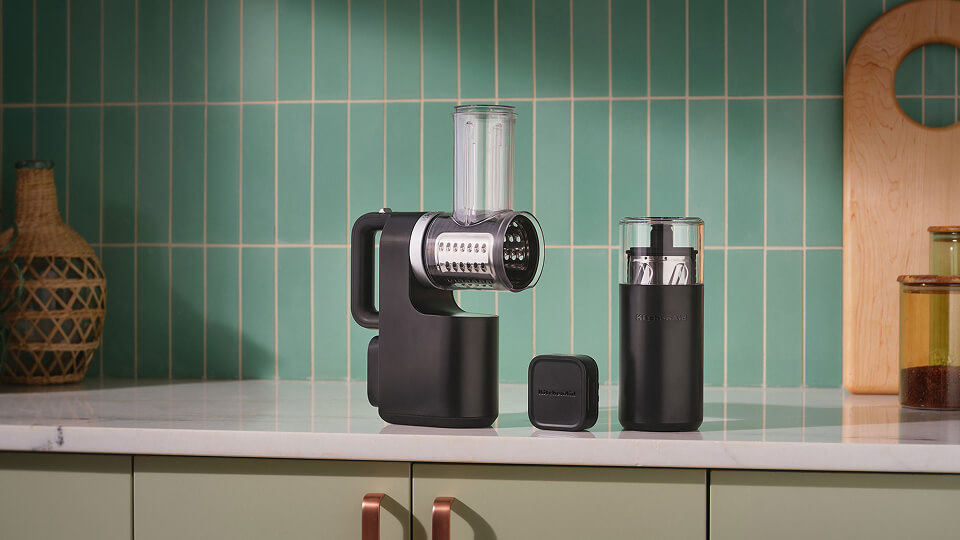
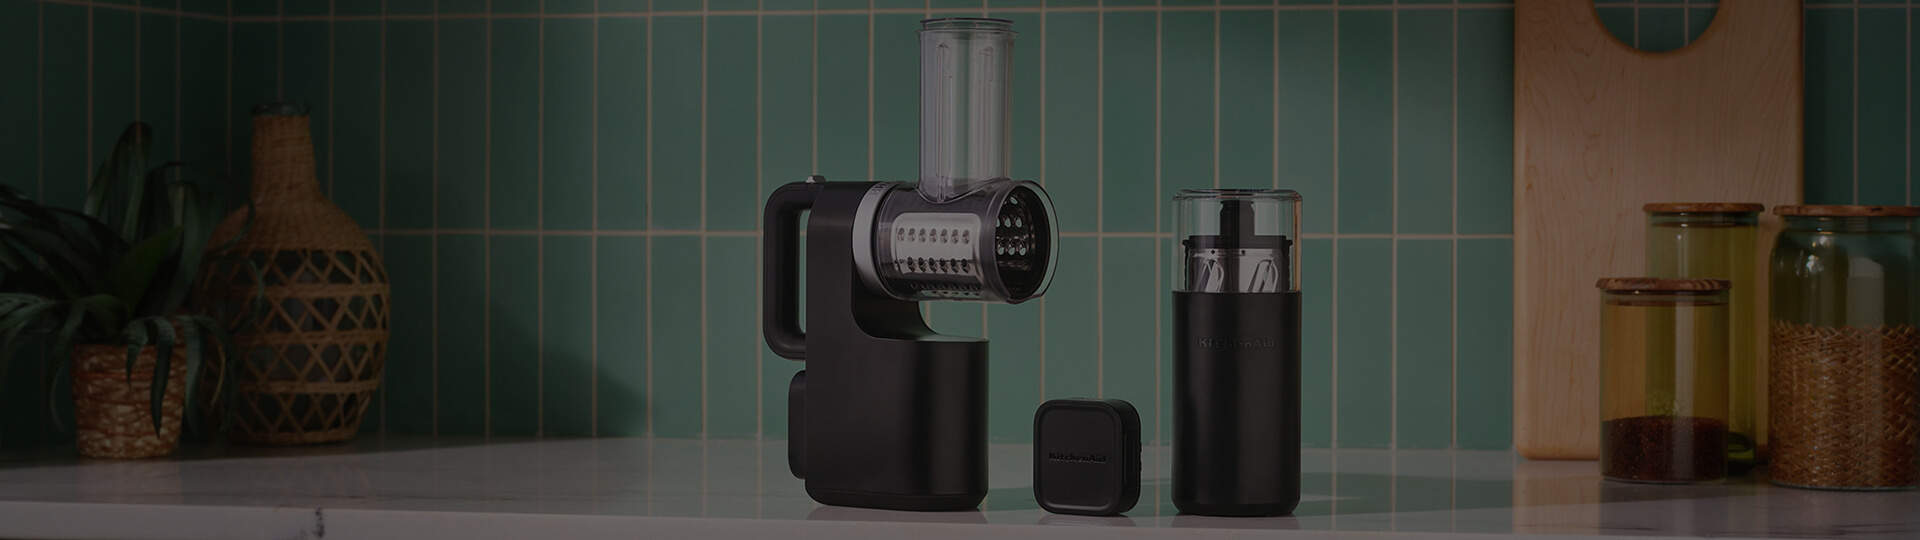
Congratulations on your KitchenAid Go Cordless Grater, Slicer, Shredder
Register it with us for tips, recipes and more. You’ll also get help quickly if you ever need it. Let’s go!
How to set up your new KitchenAid Go Cordless Grater, Slicer, Shredder
Ready to grate, slice and shred wherever you choose? Let’s get you set up.
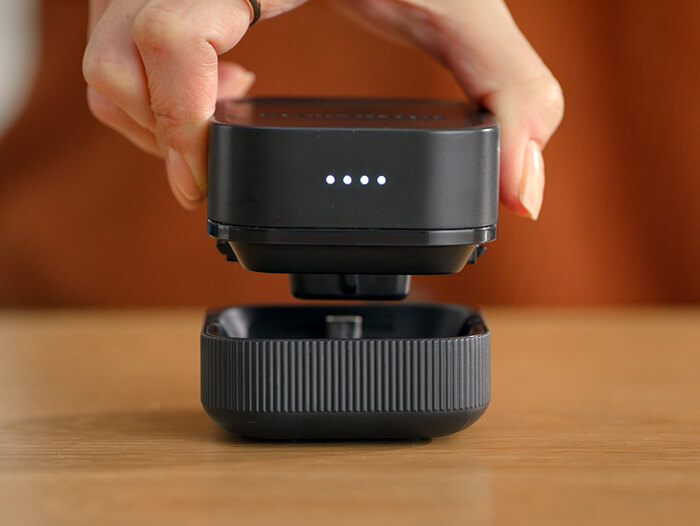
Charge the battery
Fully charge the removable battery before first use. It takes around 3 hours to charge from empty.
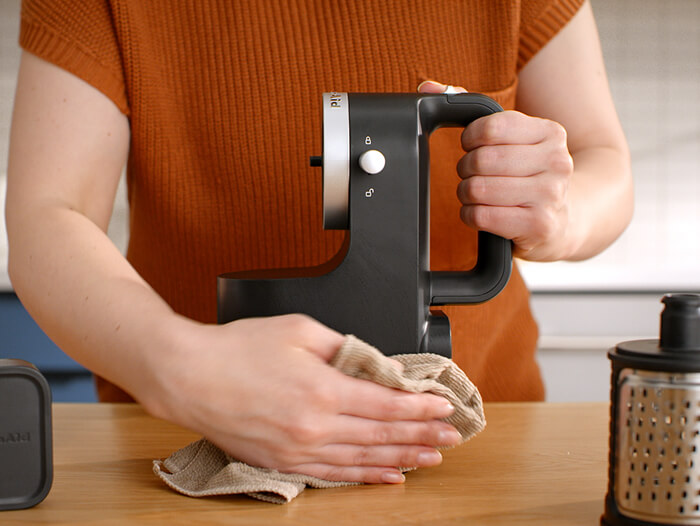
Give the parts a quick clean
Before first use, wash the housing, blades and food pusher in warm, soapy water, then rinse and dry. Wipe the motor body with a soft, damp cloth.
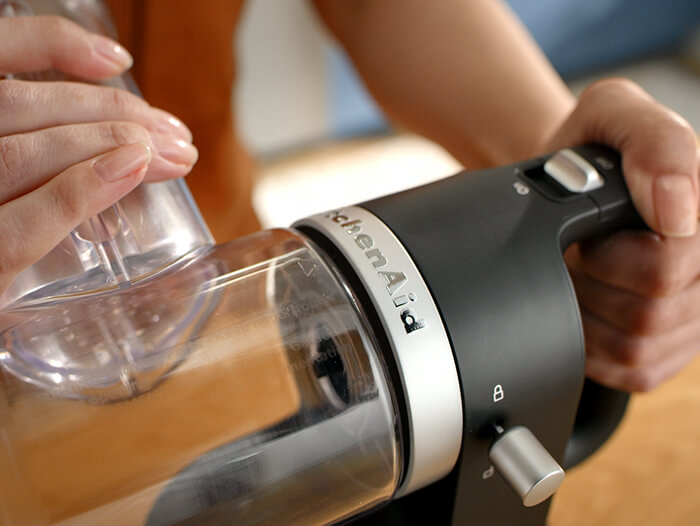
Attach the housing
Make sure the switch is off, then line up the arrow on the housing with the arrow on the motor body. Turn the housing clockwise until it locks into place.
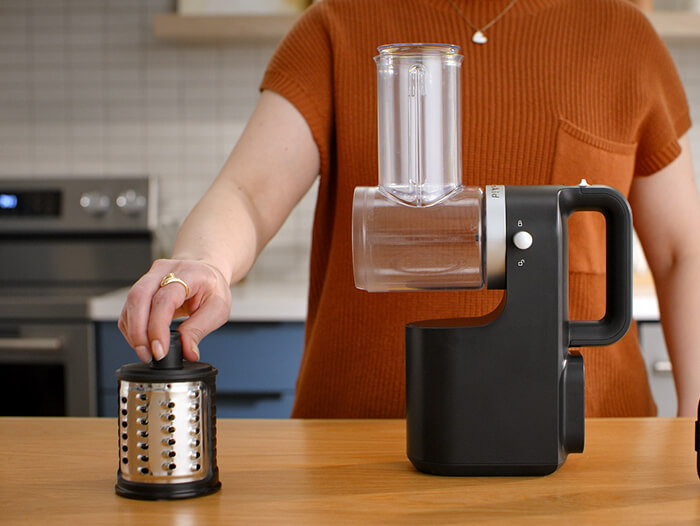
Choose your blade
Select the grater, slicer or shredder blade, depending on the ingredient and result you want.
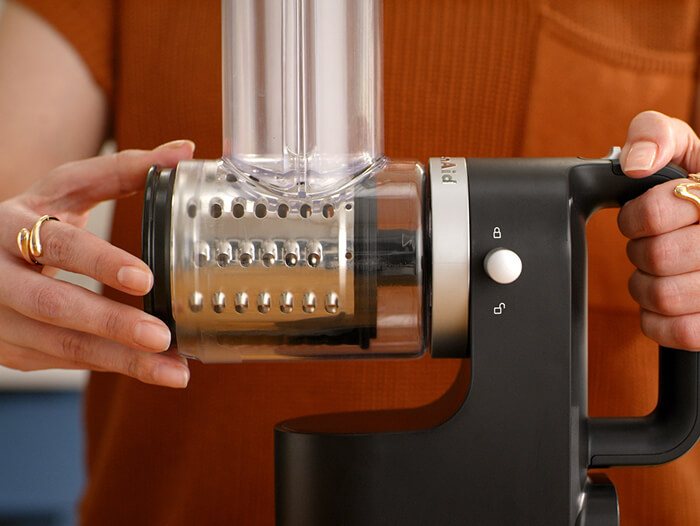
Insert the blade
Slide the blade into the housing until you hear it click securely into place.
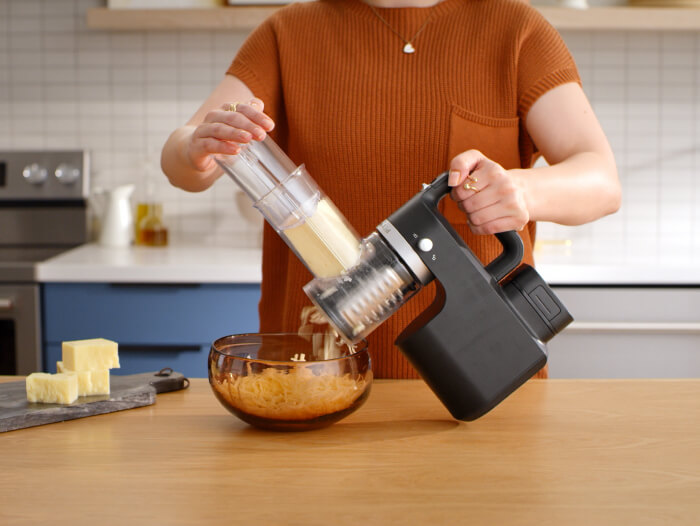
Always use the food pusher
Use the food pusher to guide your ingredients through the feed tube. Never push food through by hand.
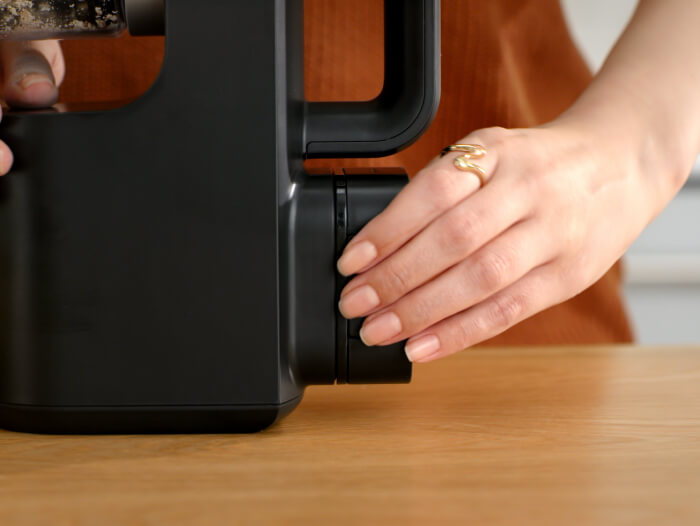
Attach the battery
The removable battery simply snaps into place on the appliance.
What can I make with my cordless grater, slicer, shredder?
The KitchenAid Go Cordless Grater, Slicer, Shredder is designed to bring cordless freedom to everyday prep. It lets you grate, slice, and shred fresh ingredients wherever you like. From small everyday prep to party-size servings. For best results, avoid ingredients with thick skins, peels or casings. The appliance is also not recommended for food that is too hard or firmly frozen to pierce with the tip of a sharp knife.

Grating blade
Use the grating cylinder for delicate grating of parmesan cheese curls or even almonds to make nut flour.
Not recommended for peppers, onions, potatoes, cabbage or courgette.

Slicing blade
Get consistent slices with the slicing cylinder. Just right for prepping potatoes or carrots, making salads, and more.
Not recommended for chocolate.

Shredding blade
For shredding cheddar cheese and vegetables, and more.
Not recommended for peppers or onions.
How to use your grater, slicer, shredder

Place a bowl underneath
Place a large bowl under the grater, slicer, shredder to catch ingredients as they come out.

Cut ingredients to size
Cut food into pieces that fit easily into the feed tube. For best results, feed one item at a time.

Turn it on
Turn on your grater, slicer, shredder before adding food to the feed tube.

Use the food pusher
Add ingredients through the feed tube and guide them down with the food pusher. Never push food through by hand.

Switch off safely
When you’re finished, turn the appliance off before removing food, changing blades or taking it apart.
How to clean your grater, slicer, shredder
A little clean-up after each use keeps your cordless appliance ready for the next recipe.

Turn off and remove the battery
Slide the switch to turn off the grater, slicer, shredder, then press and hold the Battery Unlock Button to remove the battery.

Release the blade cylinder
Engage the eject lever to release the blade cylinder you've been using, then carefully slide it out of the housing.

Remove the food pusher
Remove the food pusher from the feed tube, ready to clean away any remaining food.

Remove the housing
Twist the housing counter-clockwise to unlock it, then pull it away from the motor body.

Wipe the motor body
Wipe the motor body with a soft, damp cloth. Do not place it in water or the dishwasher.

Wash the removable parts
Place the blade cylinder, food pusher and housing in the dishwasher, or wash them by hand in warm, soapy water.

Dry and store safely
Allow the blade cylinders to air dry fully before placing them in the storage container. It holds 2 blade cylinders, keeping them clean, organised and ready for next time.