

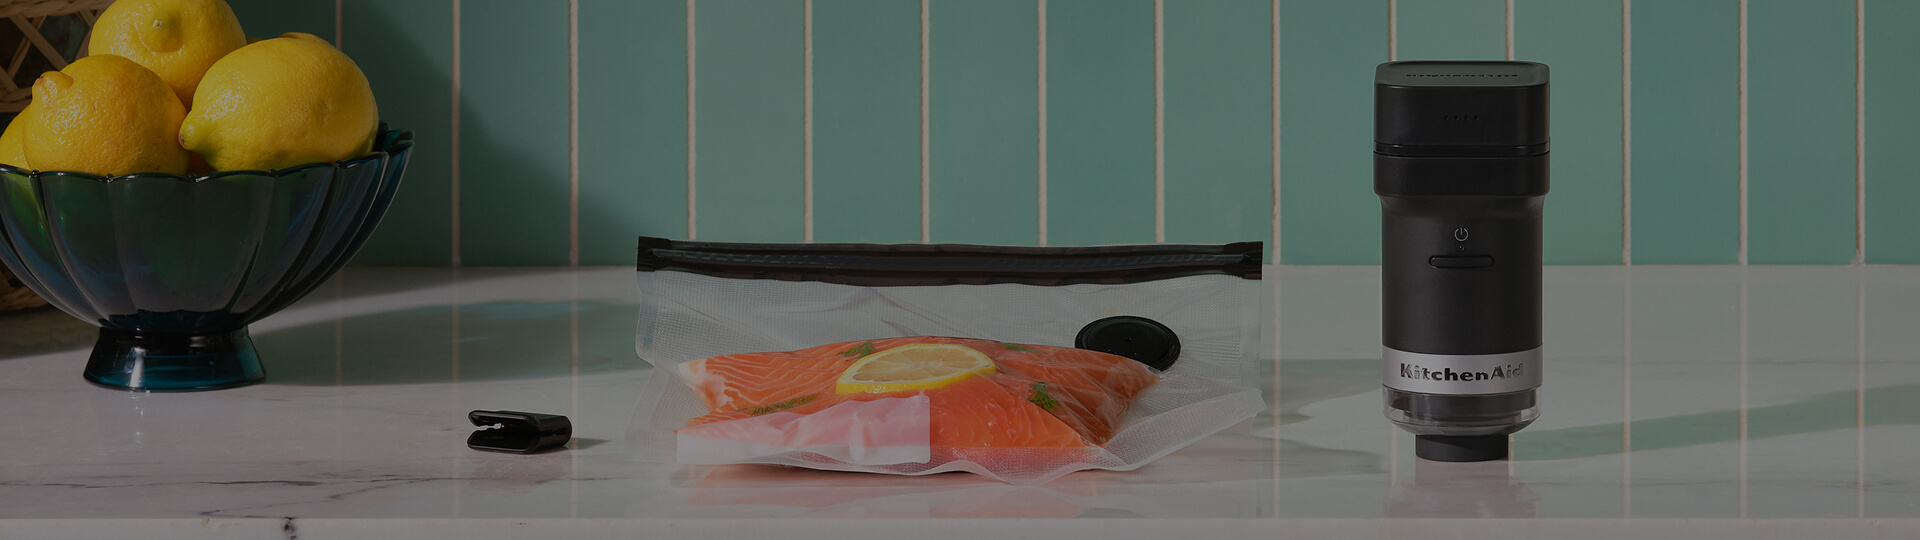
Congratulations on your KitchenAid Go Cordless Handheld Vacuum Sealer
Register it with us for tips, recipes and more. You’ll also get help quickly if you ever need it. Let’s go!
How to set up your new KitchenAid Go Cordless handheld vacuum sealer.
Fully charge the removable battery before first use. It takes around 3 hours to charge from empty.
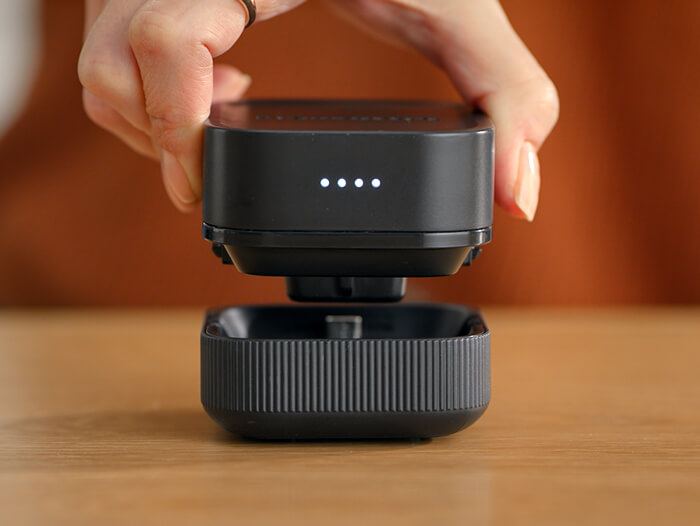
Charge the battery
Fully charge the removable battery before first use. It takes around 3 hours to charge from empty.
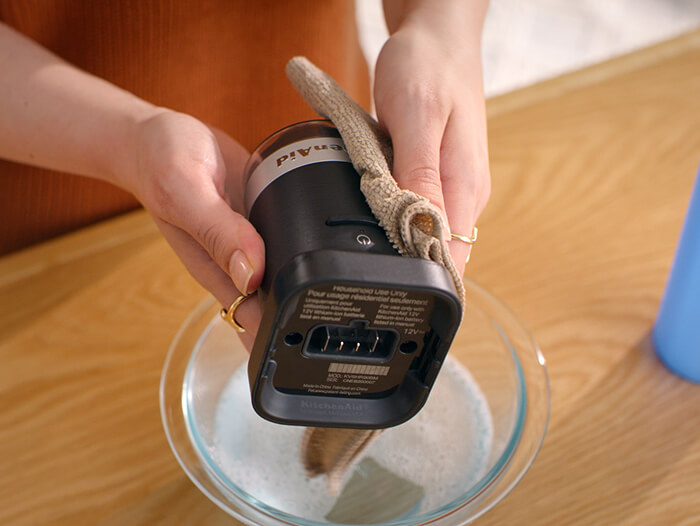
Give the parts a quick clean
Before first use, clean the parts you’ll be using (see details below). Wipe the vacuum sealer body with a soft, damp cloth.
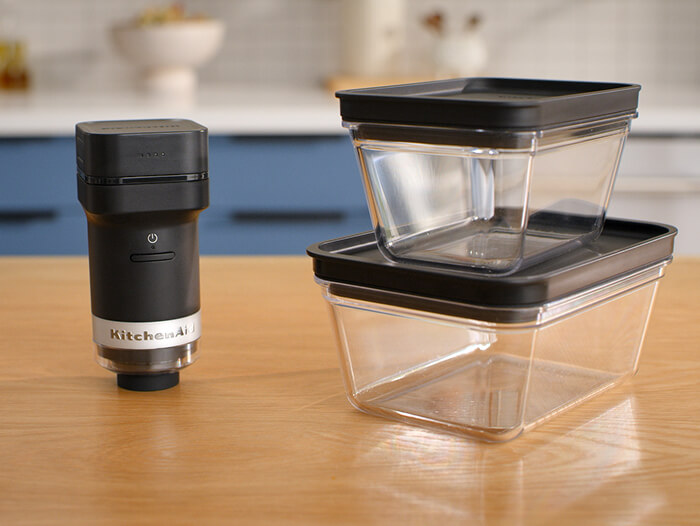
Check your accessories
Choose the compatible accessory you want to use, such as a zipper bag, container or wine sealer. Accessories may be included with selected models or sold separately.
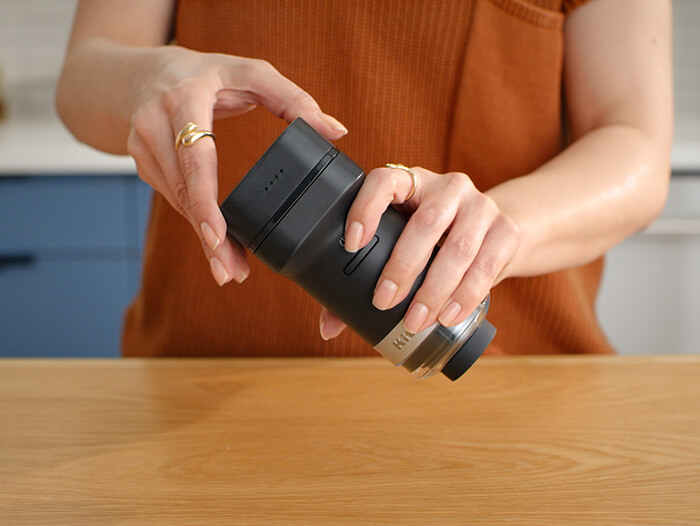
Attach the battery
The removable battery simply snaps into place on the appliance.
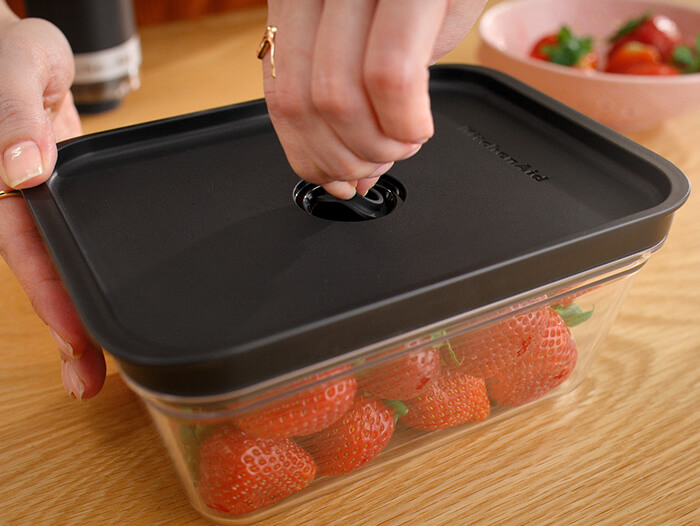
Prepare your accessory
Depending on your accessory, make sure the bag opening, container lid or wine sealer valve is clean and dry before sealing.
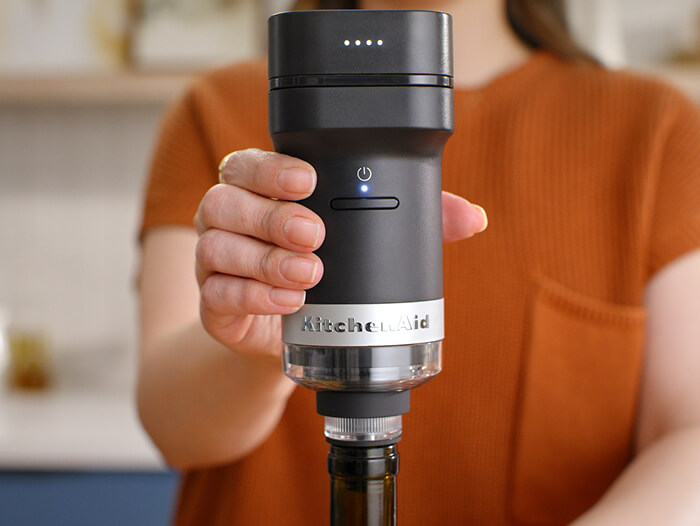
Attach and seal
Place the vacuum sealer over the valve or wine sealer accessory and press down lightly. Press the power button to start vacuum sealing.
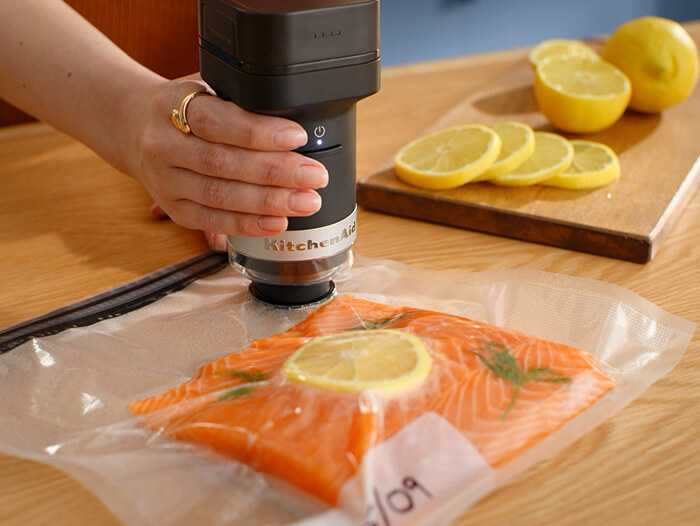
Let it stop automatically
The vacuum sealer will remove air and stop automatically when the correct vacuum level is reached. You can also press the power button again to stop at any time.
What can I use my cordless handheld vacuum sealer for?
This cordless handheld vacuum sealer makes it easy to seal everything from proteins and leftovers to pantry staples, wine, marinades, and fresh fruit and vegetables. Use it with the compatible KitchenAid Go Cordless Zipper Bags, Plastic Containers or Wine Sealer Accessory, included with selected models or sold separately

Help keep food fresh
Vacuum seal fresh foods and ingredients to help keep food fresh, from everyday leftovers to prepped ingredients.

Help reduce freezer burn
Use the compatible zipper bags to help reduce freezer burn, from leftovers to portioned bulk buys.

Prep meals ahead
Portion prepped ingredients or batch-cooked food, then seal and store for later so it’s ready when you need it. Use the compatible plastic containers or zipper bags.

Portion bulk buys
Split larger packs into smaller portions, then vacuum seal what you need for the fridge or freezer.

Help keep berries fresh
Vacuum seal fresh berries in the compatible plastic containers to extend the freshness 4 times longer in the fridge*.
* Compared to refrigerating in typical plastic packaging in which they are commonly sold by stores.

Save opened wine for later
Use the compatible wine sealer accessory to vacuum seal opened bottles, ready to enjoy another day.
How to use your handheld vacuum sealer

Prepare your bag, container or bottle
Fill your compatible zipper bag, container or wine bottle accessory, making sure the valve area is clean and clear.

Position the vacuum sealer
Place the vacuum sealer over the valve and press down lightly to create contact.

Start vacuum sealing
Press and release the power button on the vacuum sealer to begin removing the air.

Let it stop automatically
The appliance stops when sealing is complete. You can also press the button again to stop it manually.

Open when ready
Open zipper bags as normal. For bottles and containers gently pull the silicone valve to the side and let air flow in slowly. Wait until you hear the vacuum release, then open the container or bottle as normal.
Vacuum sealing tips
If the indicator light blinks red, the vacuum seal hasn’t been created. Don’t worry – it usually means something needs a quick check. Try these tips to help get a secure seal.
Keep the seal area clean
Make sure the bag opening, zipper track, container lid or valve is clean and dry before sealing.

Close zipper bags fully
Press the zipper closed before vacuum sealing. Use the bag seal clip to help make sure the bag is securely closed.

Check the valve
Make sure the valve is clear of food before sealing, so the vacuum sealer can remove air properly.

Leave space in containers
Do not overfill containers. Always leave room at the top so food does not come into contact with the valve.

Keep liquid away from the valve
Avoid letting liquid reach the valve area, as this can stop the vacuum sealer working properly. If liquid is drawn into the vacuum sealer, stop and clean it before using again, following the instructions in the user manual.

How to clean your cordless handheld vacuum sealer
A little clean-up after each use keeps everything ready for next time

Switch off and remove the battery
Press and hold the battery unlock button to remove the battery before cleaning.

Wipe the vacuum sealer body
Use a dry or slightly damp cloth to clean the body of the vacuum sealer. Do not put the vacuum sealer body in water or the dishwasher.

Clean the liquid reservoir and cap
Remove and clean the liquid reservoir after use, especially if liquid has entered the vacuum sealer. You can wipe the liquid reservoir clean with a cloth dipped in soapy water or put it in the dishwasher, top rack only.

Clean containers and wine sealer
Containers and the wine sealer are dishwasher-safe on the top rack only. Container lids are not dishwasher-safe and should be hand washed only.

Dry fully
Let all parts dry fully before using again or storing.
Any questions?
Compared to refrigerating in typical plastic packaging in which they are commonly sold by stores.