Making ice cream is fun and simple with this attachment. Before you attach the ice cream maker (5KICA0WH) to the bowl-lift mixer, make sure you remove the 'Do not immerse in water' label. The dasher is dishwasher-safe, but the freezer bowl and drive assembly need to be washed by hand.
NOTE: The freeze bowl must be completely frozen to make ice cream, so use it as soon as you remove it from the freezer, as it begins to thaw once removed.
Here are the steps for how to attach the ice cream maker to the bowl-lift mixer:
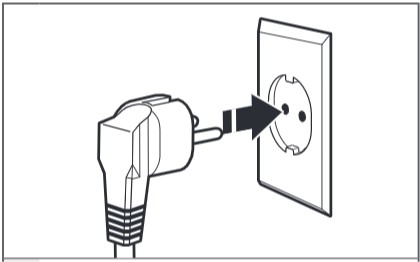
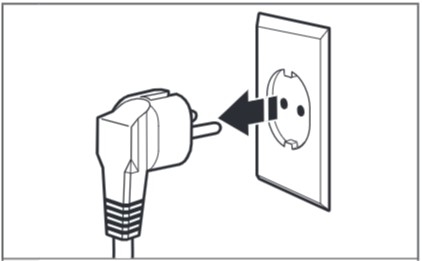
- Turn the mixer to off (speed '0') and unplug.
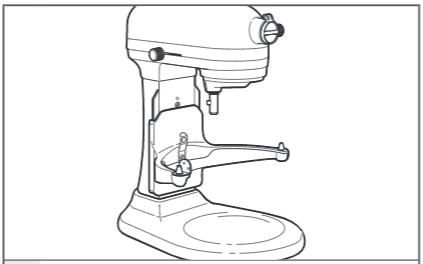
- Place bowl-lift handle in the down position and remove the mixing bowl.
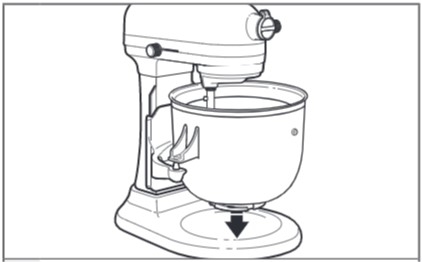
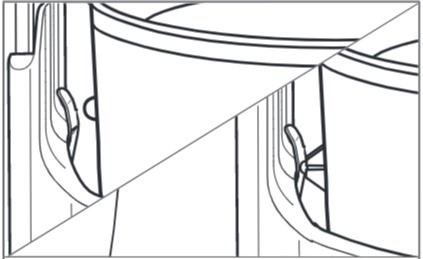
- Fit the freeze bowl in place over the locating pins. Press down on the back of the freeze bowl until the bowl pin snaps into the spring latch. NOTE: The freeze bowl is designed to fill all bowl-lift mixers. If the bowl pin at the back of the bowl is too short or too long to snap into the spring latch, remove and rotate the bowl, so the opposite bowl pin faces the spring latch. Repeat step 3
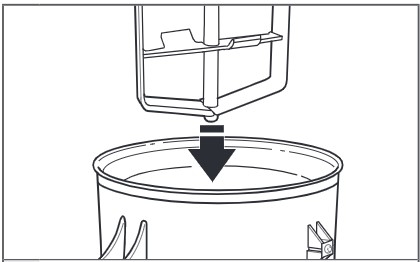
- Place the dasher inside the freeze bowl.
Next, you need to attach the drive assembly.
Here are the steps for how to attach the drive assembly to your bowl-lift mixer:
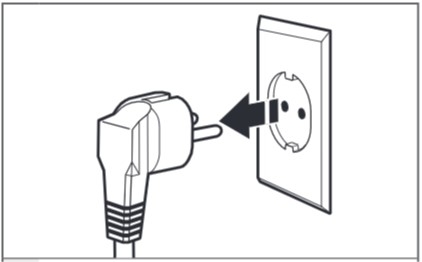
- Make sure the mixer is turned off and unplugged.
- The bowl-lift handle should still be in the down position, and the freeze bowl and dasher in place.
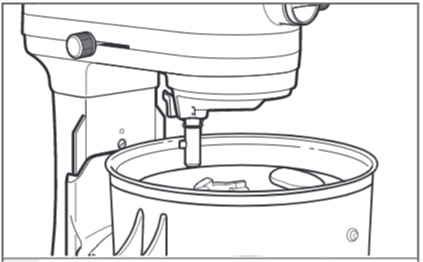
- Position the drive assembly onto the mixer, so that side B is closest to the beater shaft. Slide drive assembly onto the motorhead until it does not slide any further.
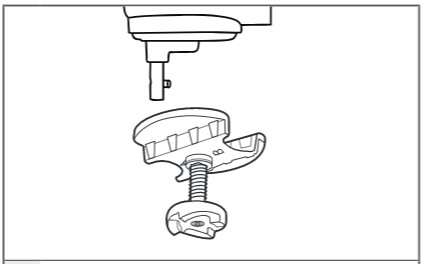
- When correctly assembled, the outer curved edges of the drive assembly should centre on the motorhead. If they are not centred, slide the drive assembly either back or forward until it is centred on the motorhead. Make sure the drive assembly is securely in place by pressing upward.
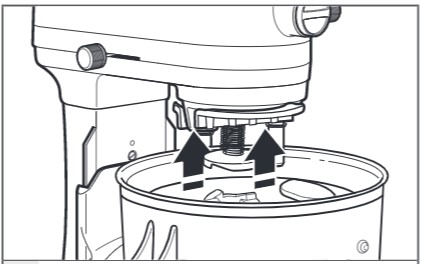
- Raise the bowl to engage the dasher with the drive assembly before mixing. If the drive assembly doesn’t engage the dasher, slide the drive assembly either back or forward until it does engage the dasher properly.
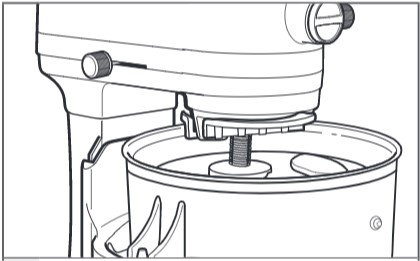
- Plug the mixer in.
